Transform an image
This page explains how to resize, crop, rotate, and otherwise transform an image with Dynamic Asset Transformations (DAT), and how to save the result. You can transform an image from Source Assets or from the asset picker when building a template, and DAT works the same way in both.
| DAT supports JPG, PNG, WebP, and GIF images. See Supported formats and limits for the full list of formats and limits. |
Open an image from Source Assets
-
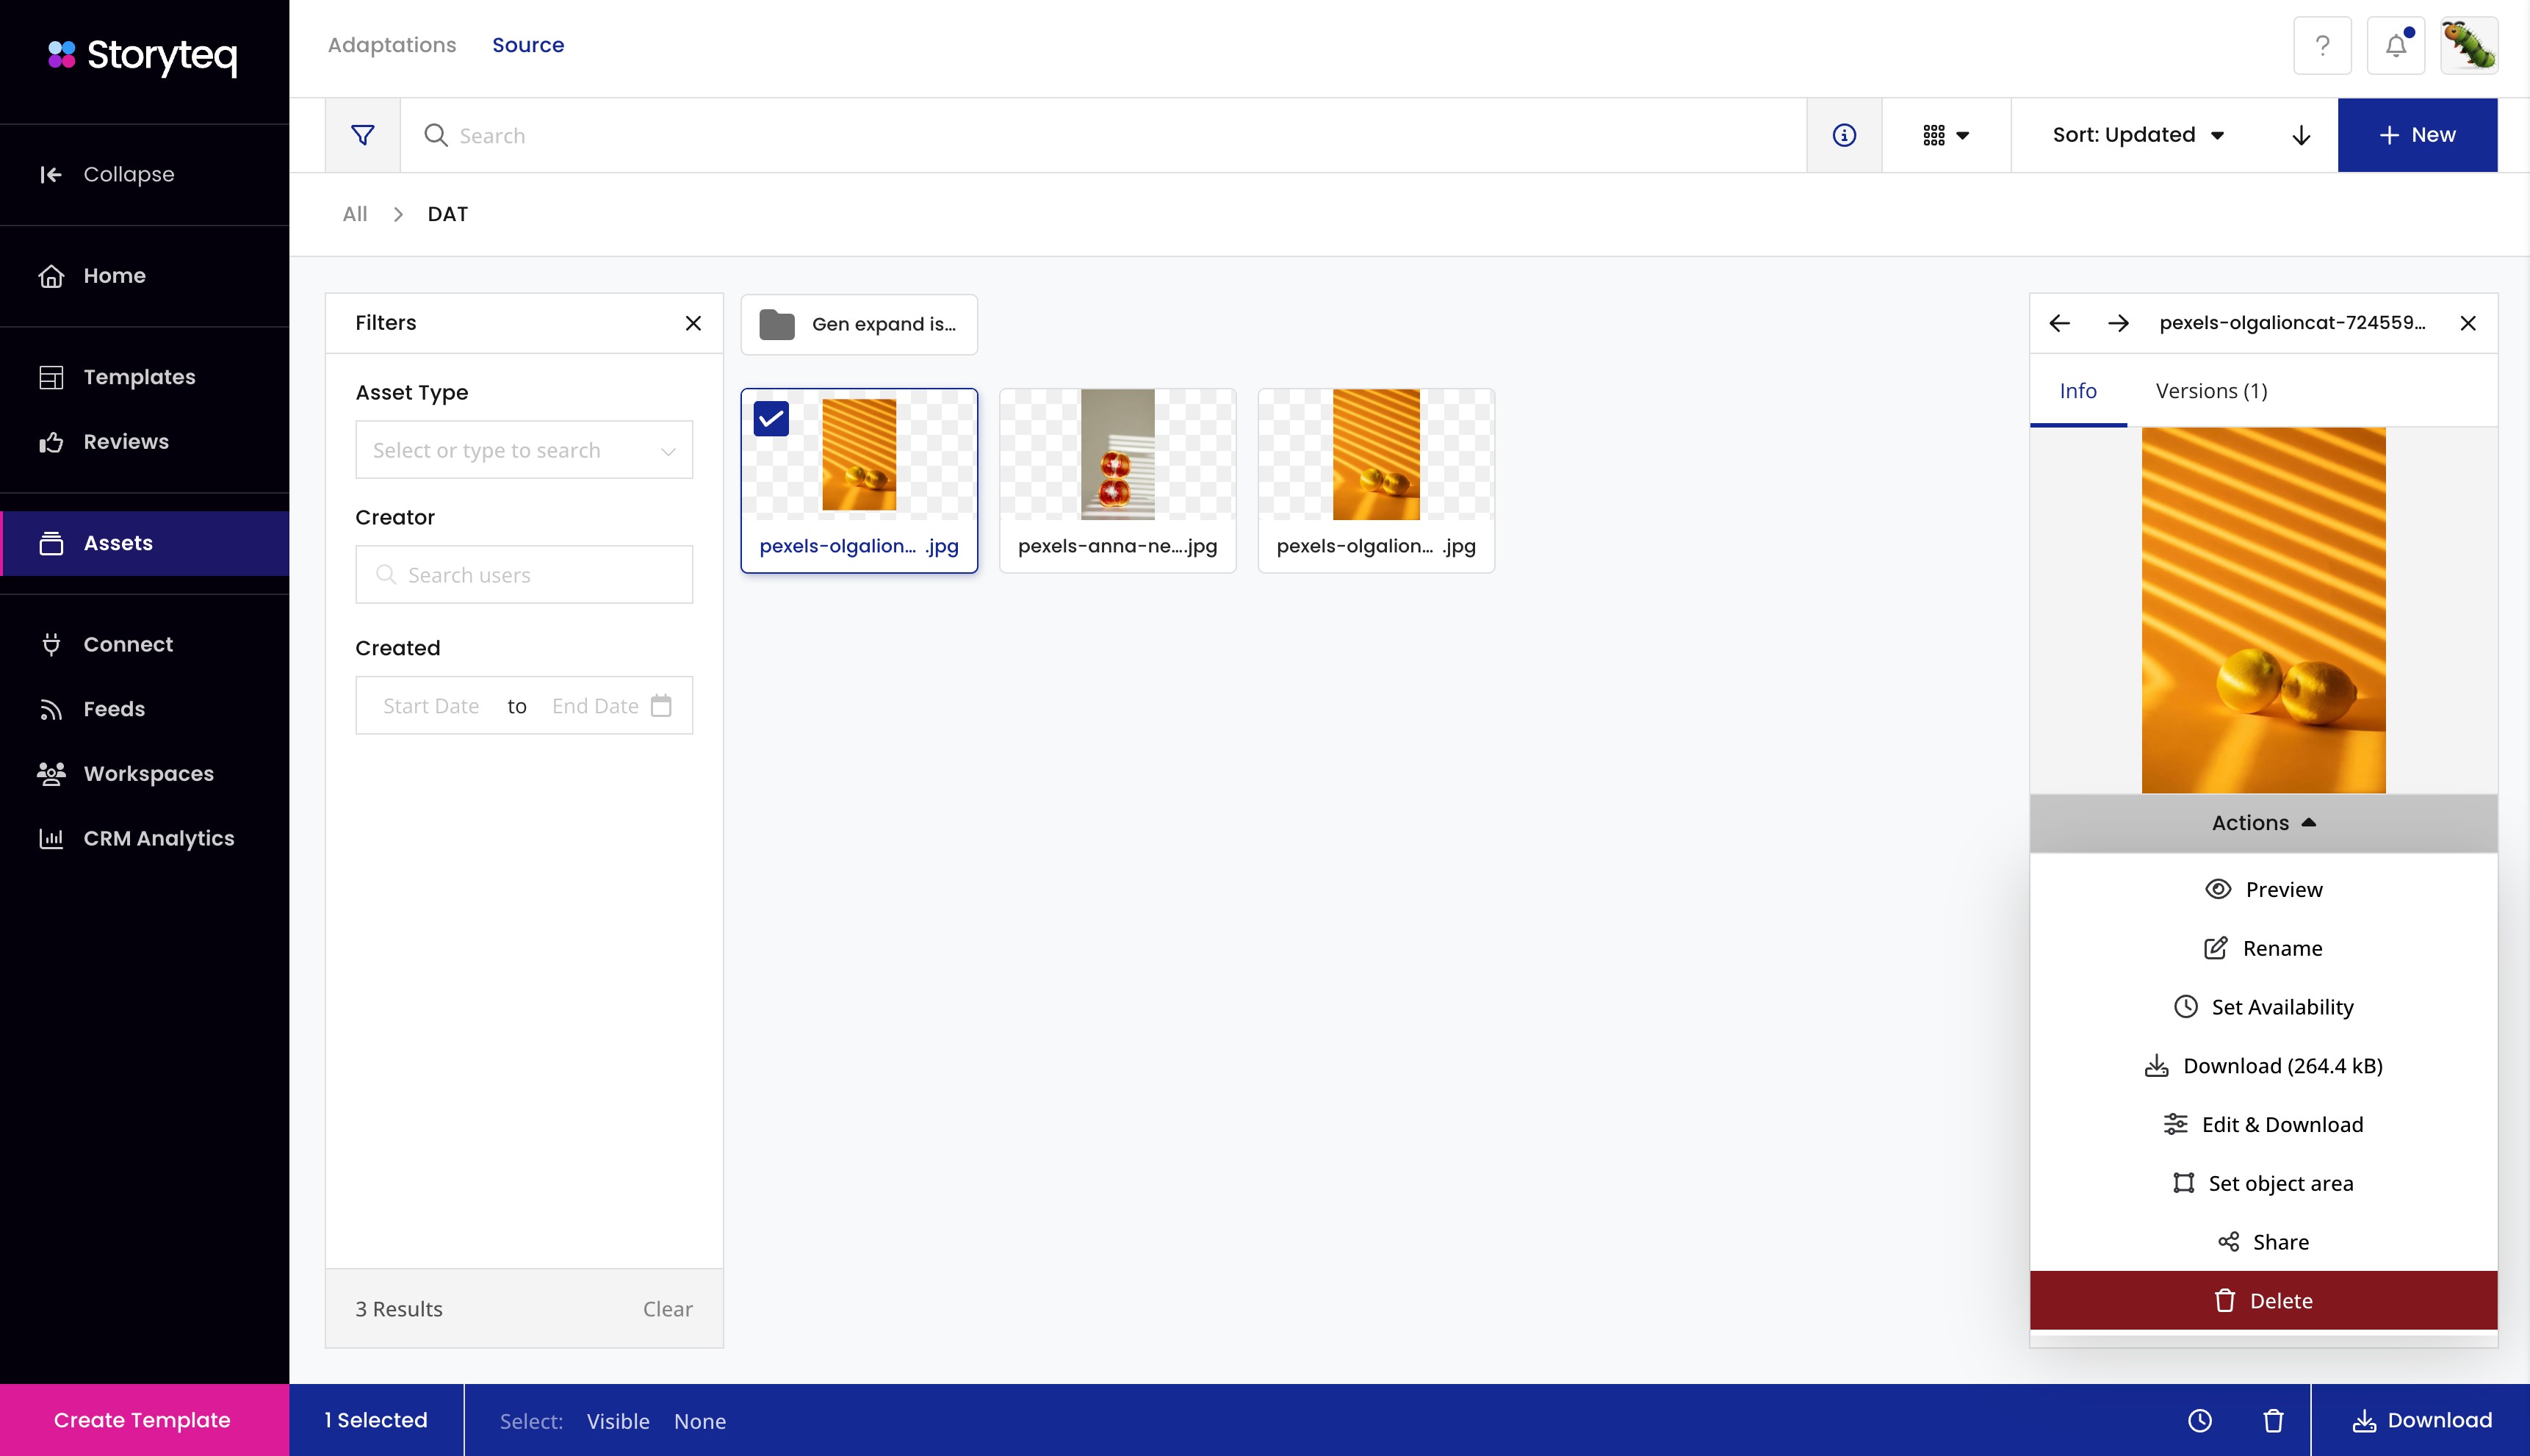
In Source Assets, locate the image you want to transform.
-
Open the Actions menu for the image and select Transform.
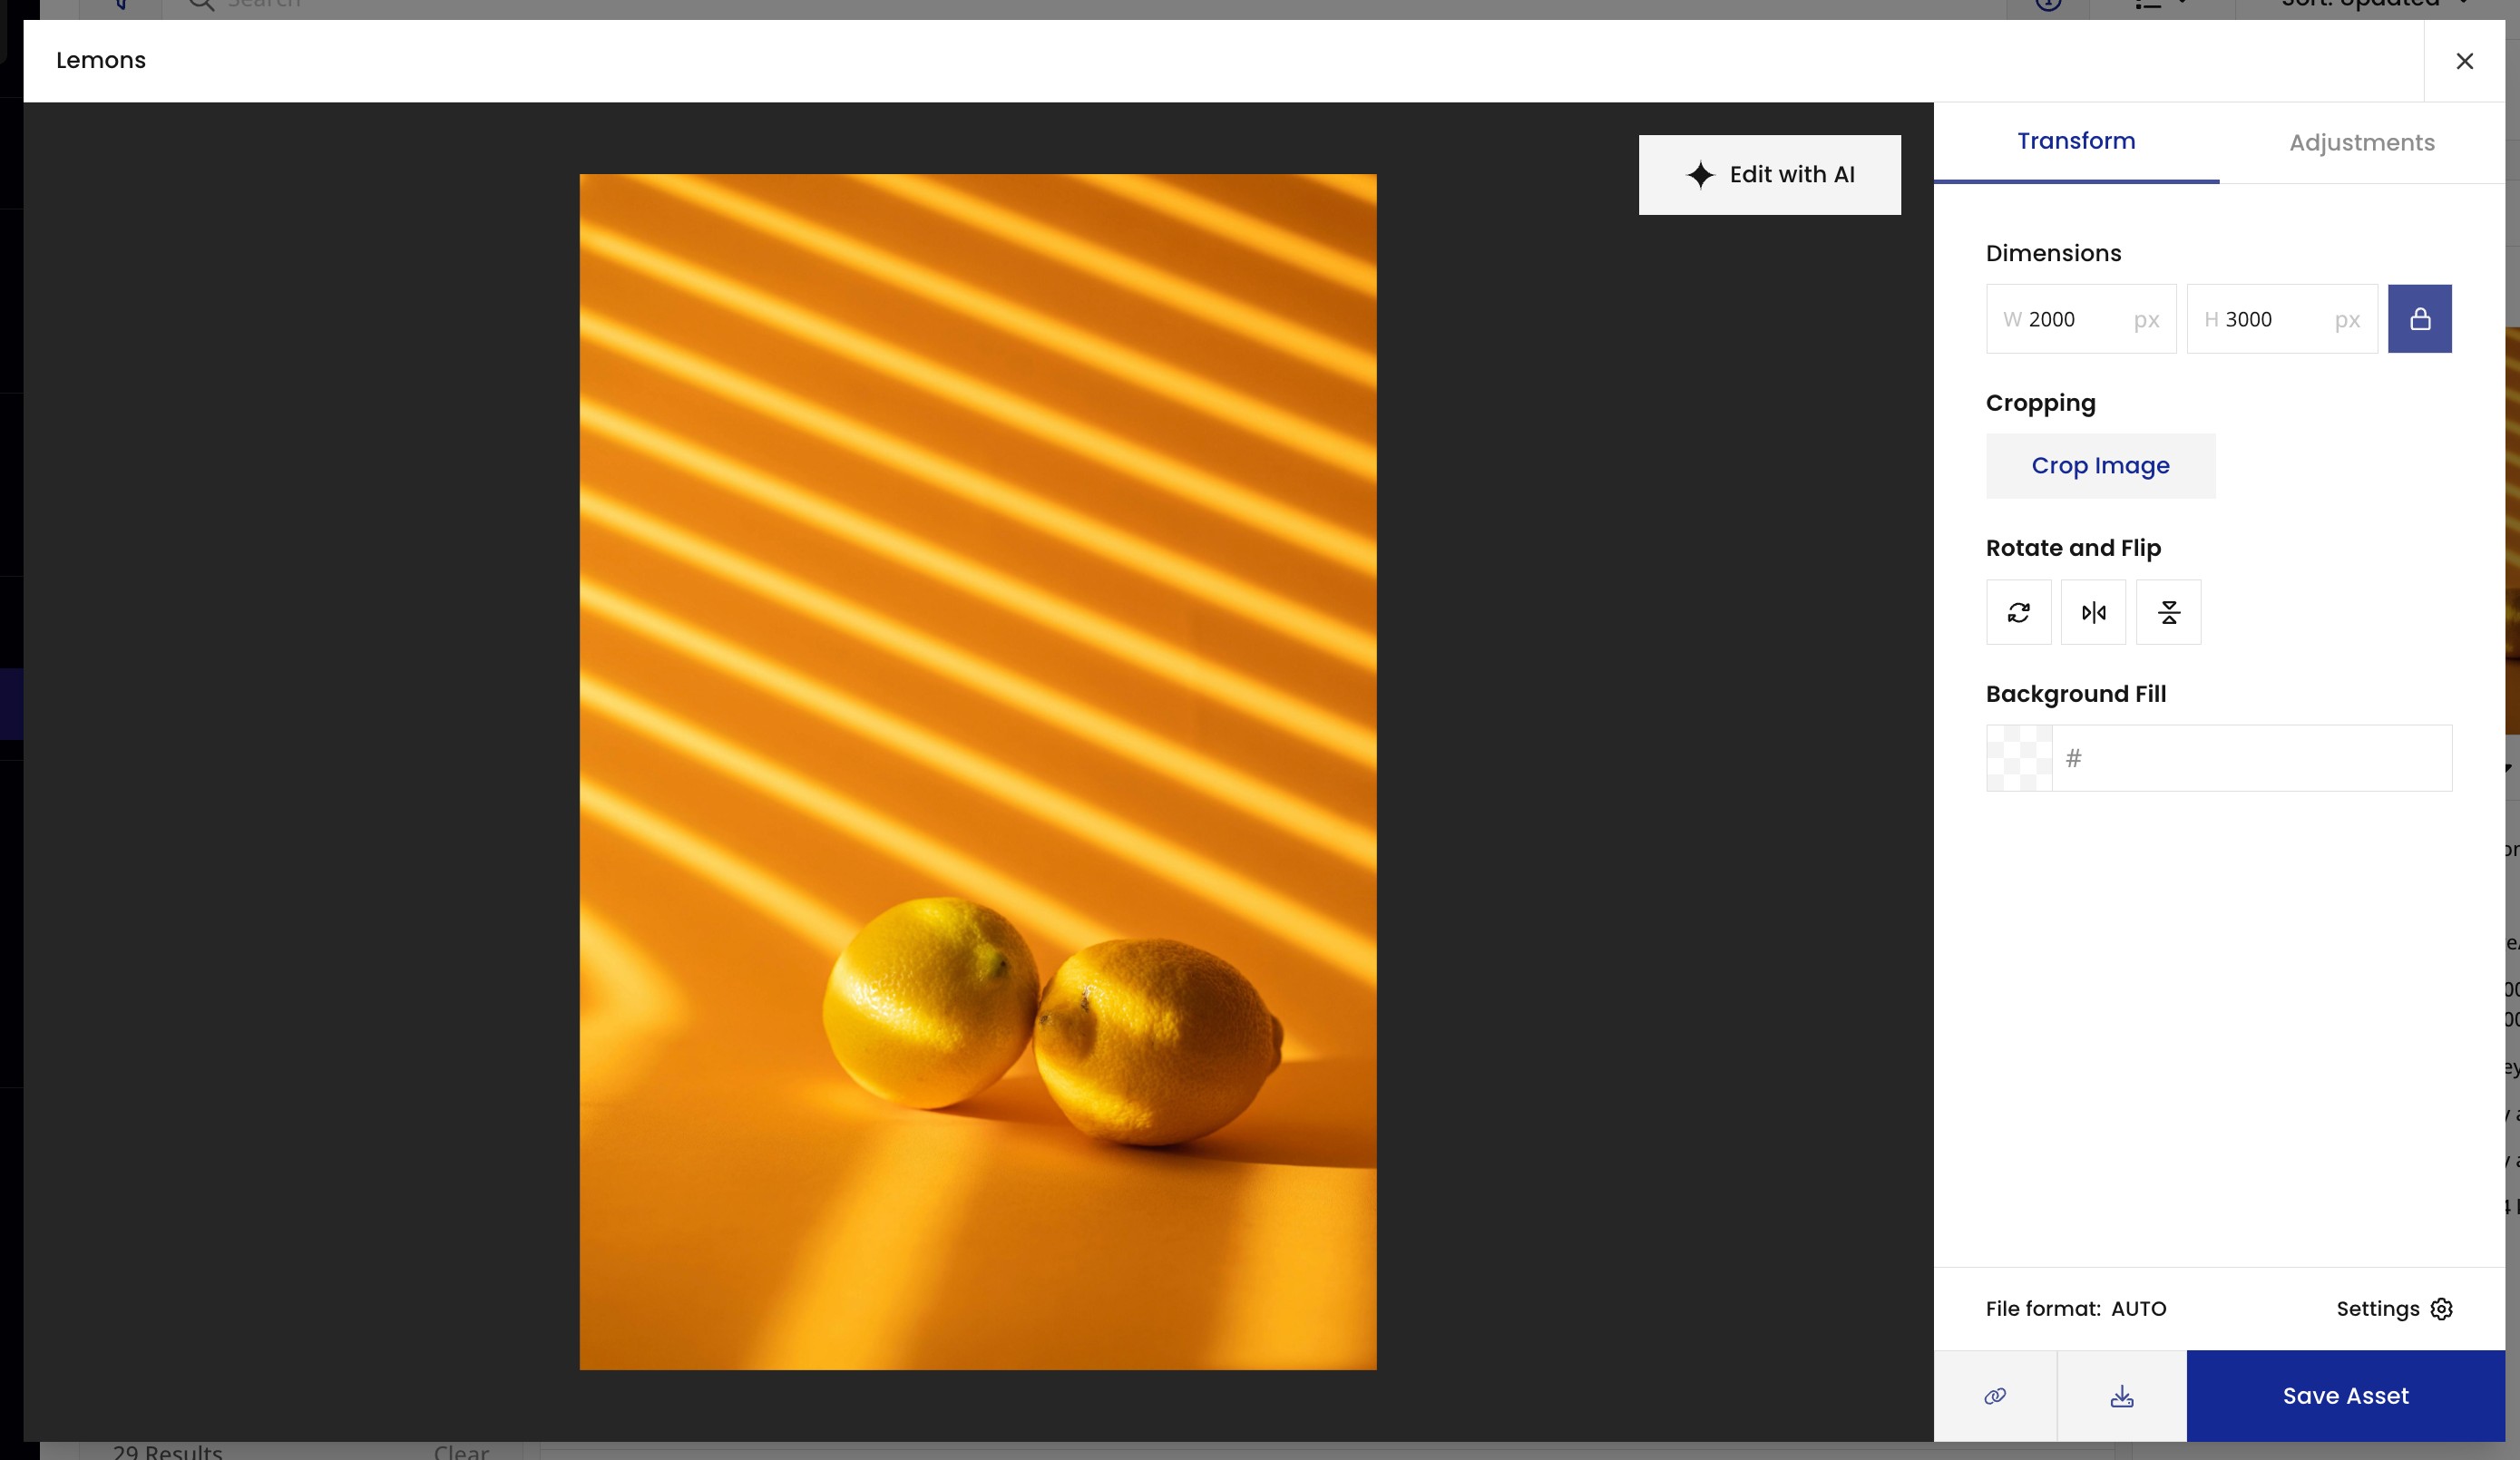
The image opens in DAT, with the preview on the left and the Transformations panel on the right.
Open an image from the template builder
-
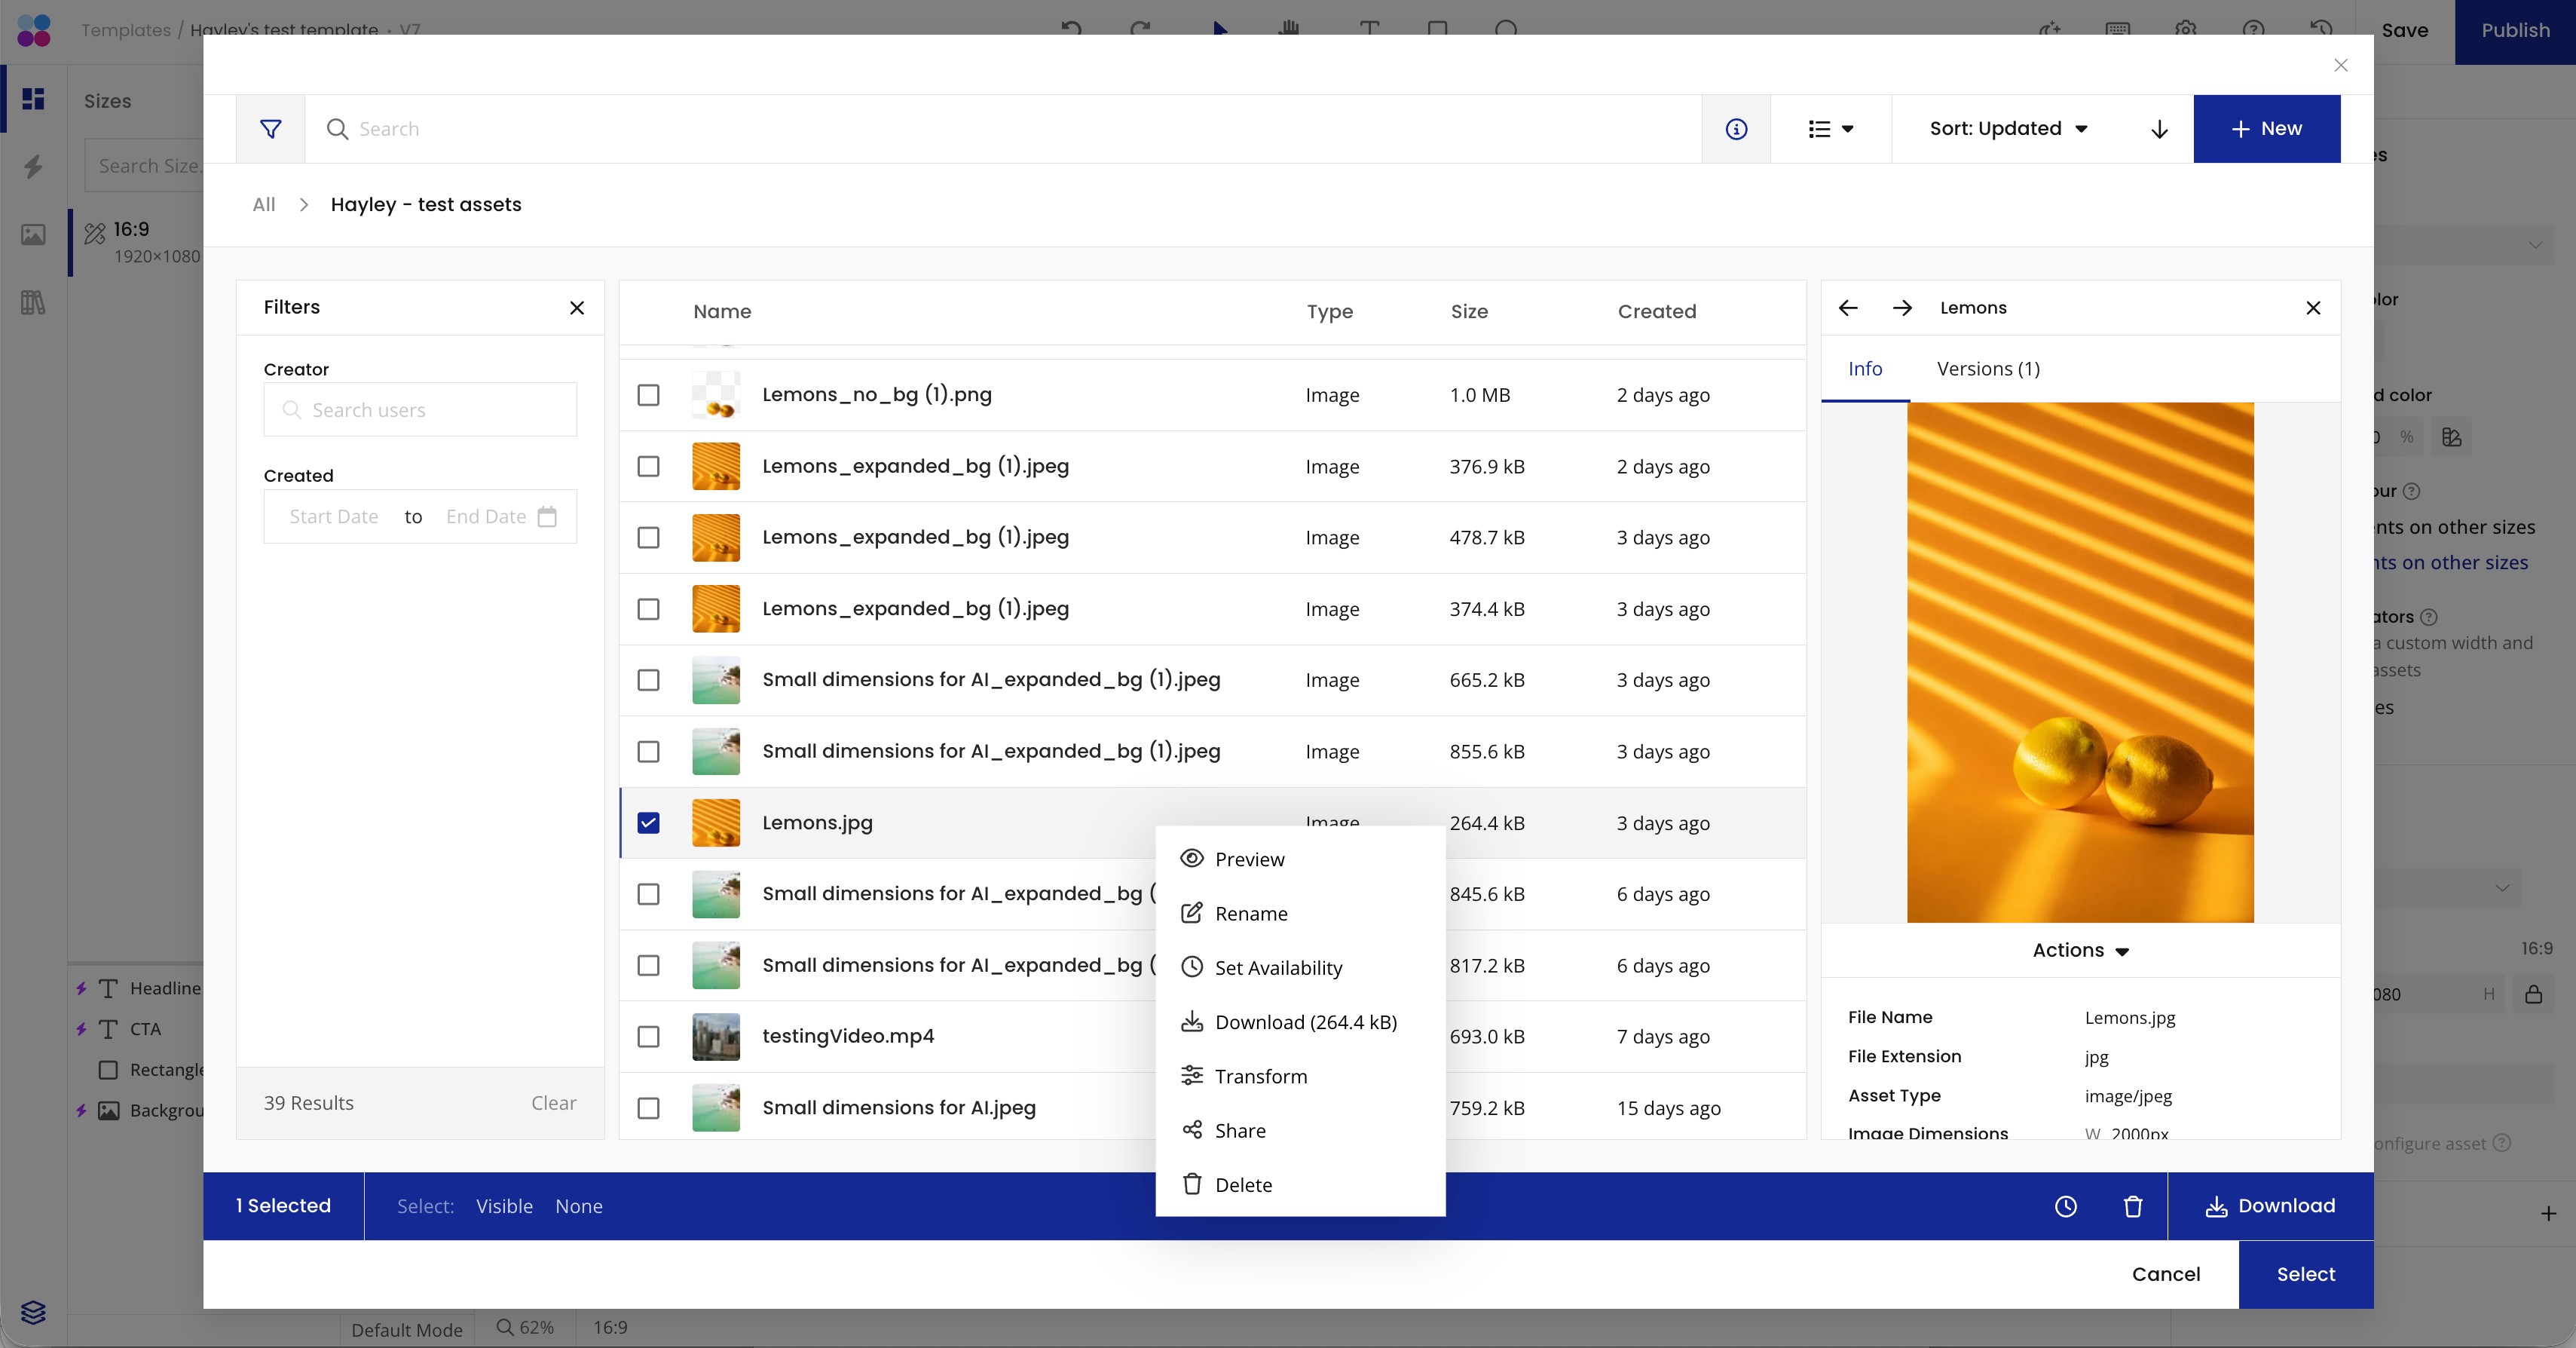
In the template builder, select an image in the asset picker.
-
Open the Actions menu in the preview panel, or open the context menu for the asset, and select Transform.
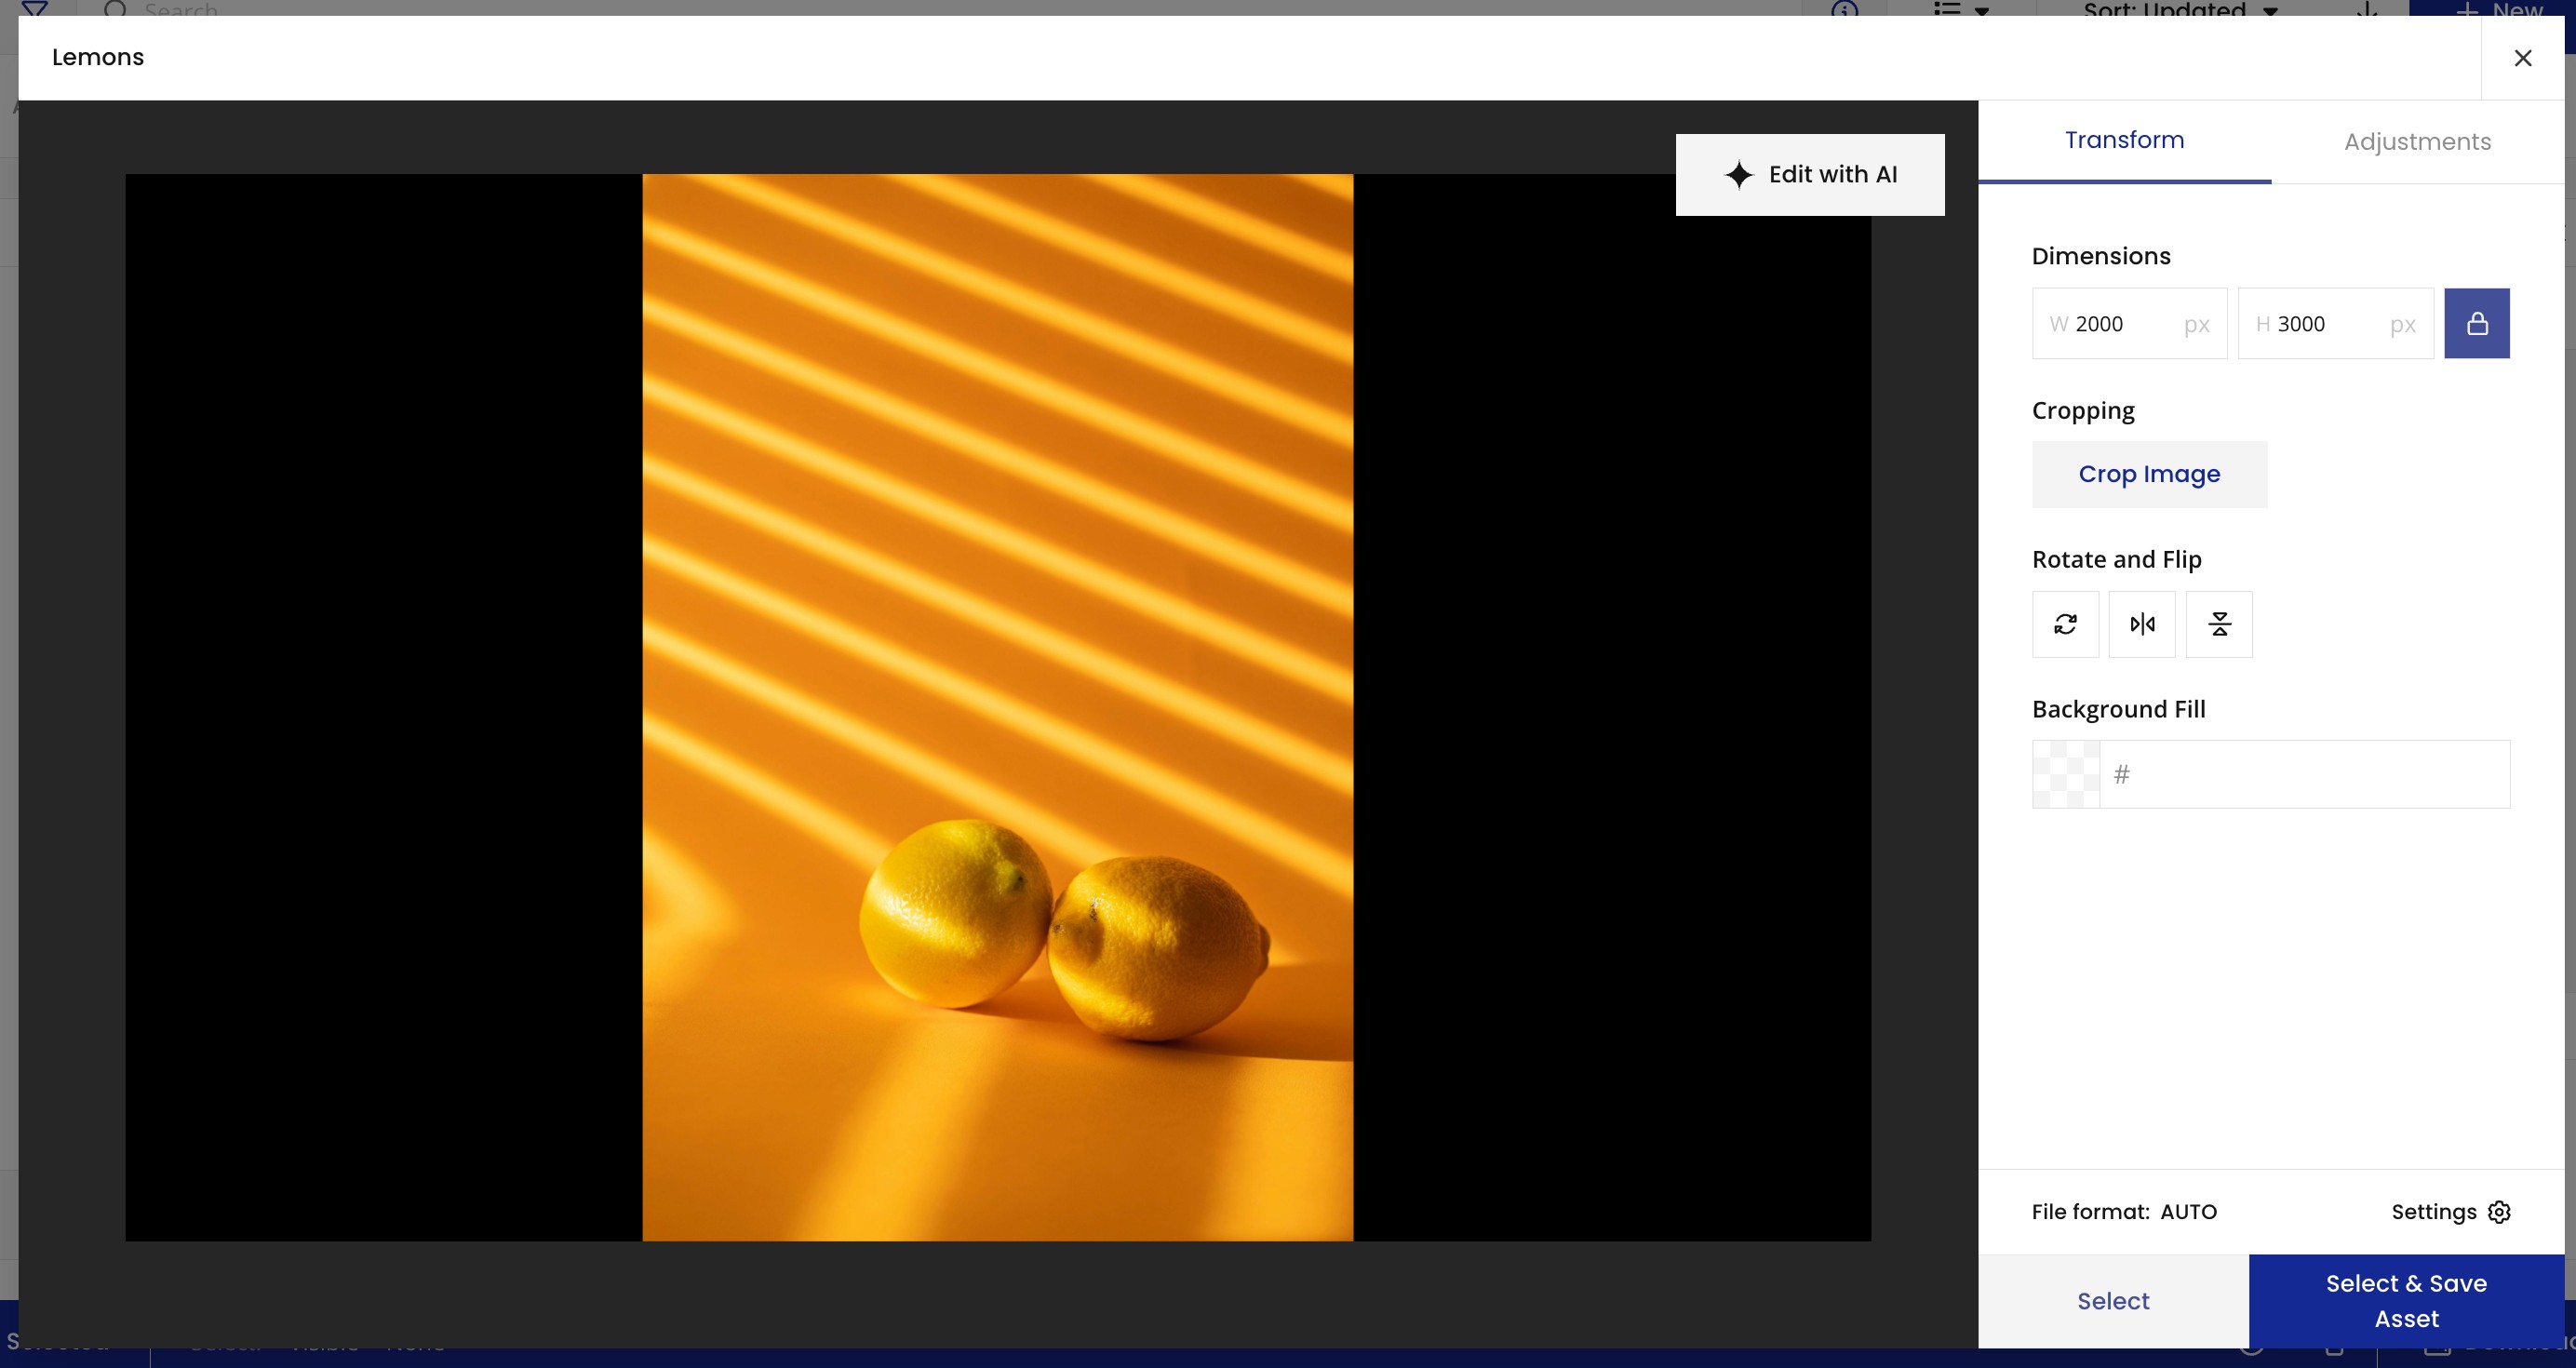
The image opens in DAT, with the same layout and options as in Source Assets.
Apply transformations
In the Transform tab, apply any of the following:
-
Resize the image, with or without the aspect ratio locked.
-
Crop the image, with or without the aspect ratio locked.
-
Rotate the image in 90-degree increments.
-
Flip the image.
-
Fill a transparent background with a solid colour.
To change the output format, use the File Format option at the bottom of the panel.
Adjust the image
-
Select the Adjustments tab.
-
Use the sliders to adjust properties such as brightness and contrast.
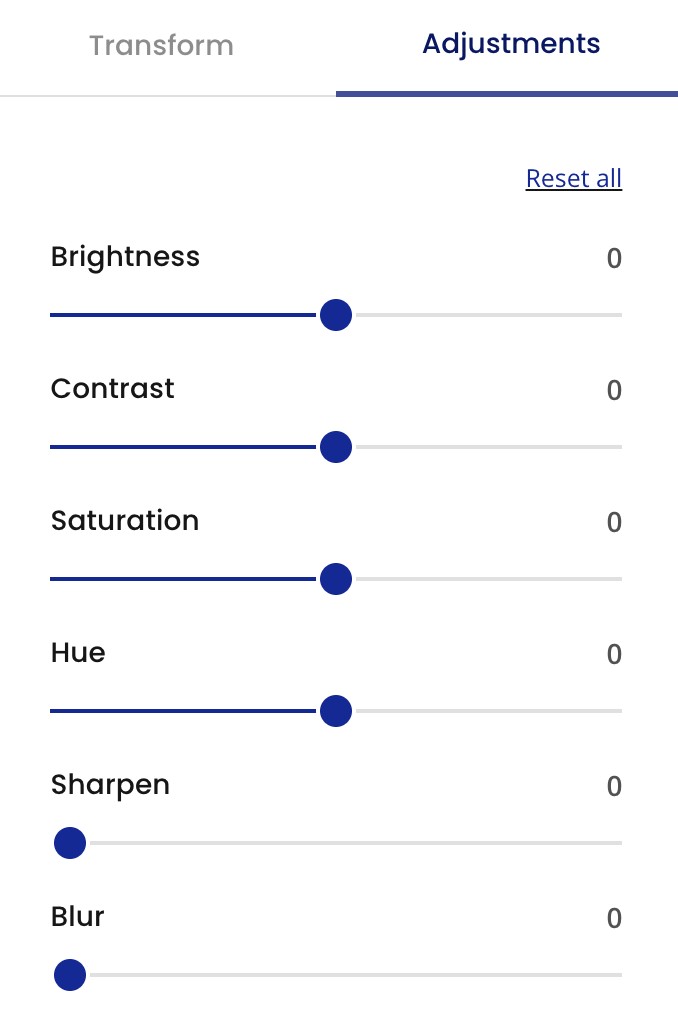
To undo a single adjustment, select Reset above the relevant slider. To undo every adjustment, select Reset All.
Save your changes
When you have finished transforming the image, save your work.
From Source Assets, you can:
-
Save the transformed image as a new asset.
-
Copy a link to the image.
-
Download the image to your device.
From the template builder:
-
Select Select & Save to add the transformed image to your template and save it to Source Assets.
-
Select Save to save the image without adding it to your template.